Pantry Organization for Small Apartments: A Practical Plan
Use visibility, simple zones, and a review routine to plan a small pantry around the food and storage you have.
Published by Eco Tiny Living Hub
Reviewed under our editorial and corrections policy.
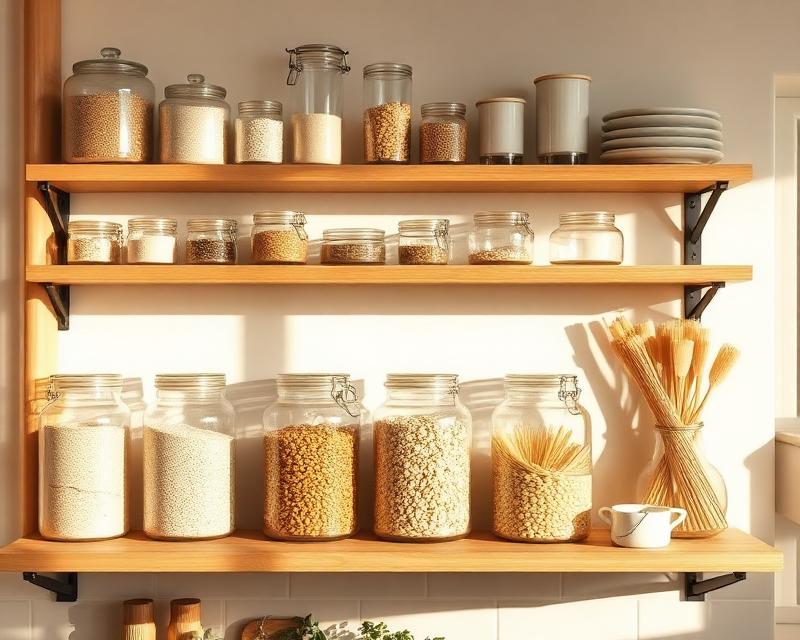
In a small pantry, bags and boxes can block one another and make an accurate inventory harder. The useful first goal is not a matching-container display; it is being able to see what is present and reach what you use.
This walkthrough uses visibility, a few flexible zones, and a repeatable review. It does not document a before-and-after project or promise that organization alone will prevent waste or reduce spending.
Start with visibility, not a makeover
Hidden food, damaged packaging, and an unclear inventory are useful things to check when a pantry is difficult to use. They are practical checkpoints, not a measured explanation of most household food waste.
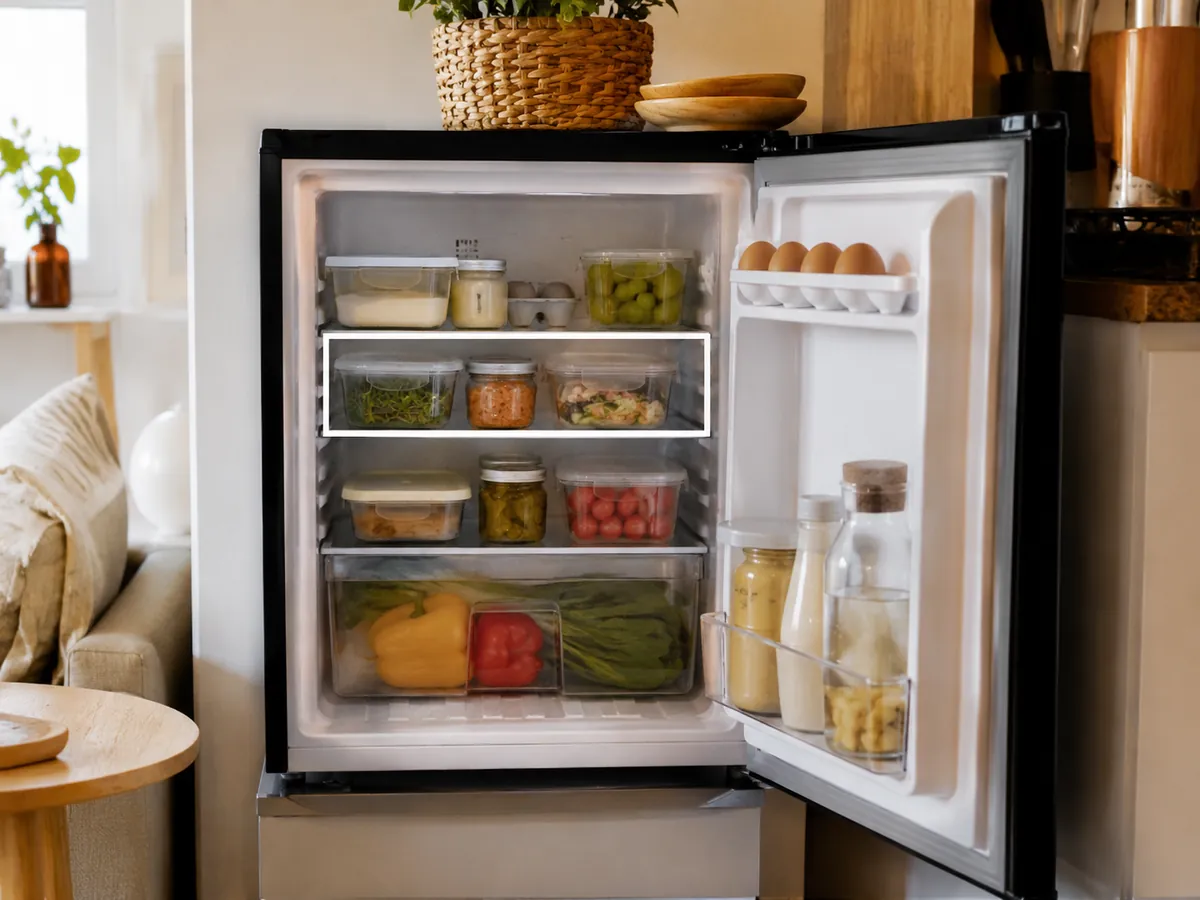
Organizing around visibility and access—clear containers, simple zones, and regular rotation—can make it easier to notice what you already have before it is forgotten or bought again.
Step 1: Review what is there
Work one shelf at a time if emptying the entire pantry would block the kitchen or create an overwhelming project. Keep package information with the food while you review it.
- Move one shelf's contents to a stable work surface and group identical or related items without discarding their packages yet.
- Check the product's date wording, condition, storage directions, and official food-safety guidance before deciding whether to keep or discard it. A printed date does not have one universal meaning.
- Do not combine open packages automatically. Keep allergen details, cooking directions, lot codes, and storage instructions; avoid mixing products or lots when identity or condition is uncertain.
- Clean the empty shelf with a method suitable for its material, let it dry, and return food only after checking for spills or damaged packaging.
Step 2: Create Simple Pantry Zones
You don’t need 20 micro-categories. A handful of clear zones is enough to keep a small pantry organized and easy to navigate.
- Define 5–7 zones, such as: breakfast, grains and pasta, baking, snacks, cans and jars, spices and oils, and “backstock” or bulk.
- Assign each shelf or section to one or two zones based on how often you reach for those items.
- Keep everyday items like breakfast and snacks between shoulder and eye height, and backstock higher or lower where you don’t grab it as often.
Zones provide a consistent place to look. If a category is too large for its assigned area, split it by use frequency instead of adding more containers by default.
Step 3: Decide what should stay packaged
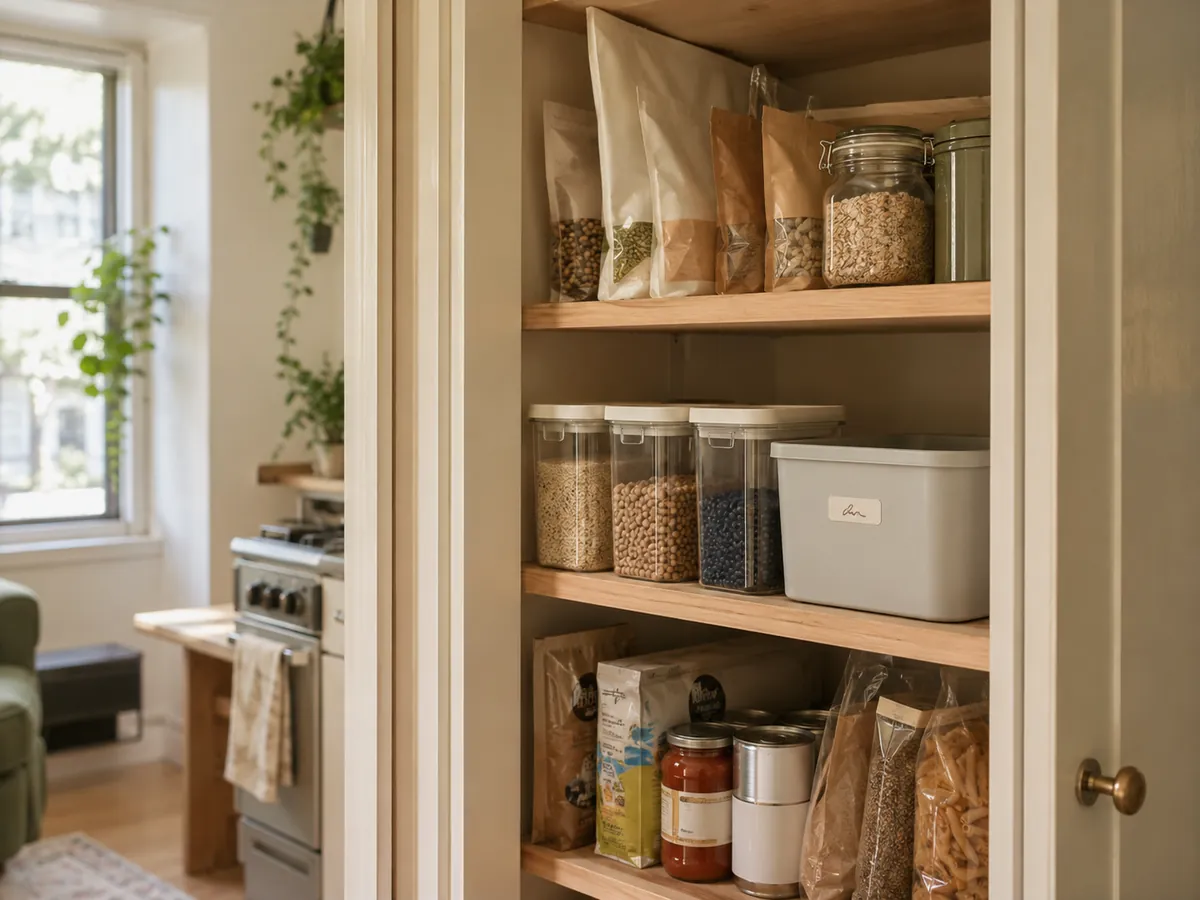
Original packaging can carry preparation directions, allergen information, lot codes, and storage guidance. Decant only when a different container solves a real access or closure problem and you can preserve the information you need.
- Use the original package when it closes adequately, fits the shelf, and carries information you still need.
- If you reuse a container, confirm that it is intact, clean, dry, food-suitable, and paired with a lid that still closes as intended.
- Label transferred food clearly and retain relevant preparation, allergen, storage, date, and lot information.
- Arrange packages and containers so labels remain visible; use a stable riser only when its load and shelf placement are suitable.
A matching set is optional. Before buying storage, test whether rearranging original packages or reusing a suitable container fixes the actual visibility problem.
Step 4: Use Vertical Space and Door Storage
Measure the usable width, depth, and height of your actual shelves before adding organizers. Leave clearance for hinges, shelf supports, and safe removal.
- Add shelf risers. Tiered risers are perfect for cans and jars; they turn one deep shelf into two visible levels instead of a dark tunnel.
- Use bins as drawers. Place loose items in bins or baskets that you can pull out like drawers to reach the back without digging.
- Hang an over-the-door organizer. If you have a door, use it for spices, packets, snacks, or baking supplies—this is prime real estate in a tiny pantry.
- Reserve floor space for bulk items. If your pantry has a floor area, keep heavier backstock there in lidded bins or buckets.
Step 5: Label, Rotate, and Prevent Waste
A zero waste pantry is as much about how you use food as how you store it. Labels and rotation keep everything moving before it expires.
- Label transferred food with enough information for everyone in the household to identify and use it safely.
- Add dates where it matters. For homemade mixes or bulk items you rarely buy, add a small date on the bottom or back of the jar.
- Use a simple rotation rule: oldest in front, newest in back. When you restock, slide older jars or boxes forward and put new items behind.
- Create a use-first area for food you have chosen to prioritize after checking its condition, date wording, and storage guidance.
Step 6: Use a review rhythm that fits
There is no universal maintenance interval. Choose a review cue that matches how often the pantry changes, and shorten or lengthen it based on what you actually find.
- At restocking: place newer matching items behind older suitable items when package guidance supports that rotation.
- At a regular meal-planning or shopping cue: review the use-first area and note food that repeatedly goes unused.
- When a spill occurs or a zone stops working: clean the affected shelf and adjust the layout rather than waiting for a fixed reset date.
The test is practical: can you identify what is there, reach it safely, and preserve the information needed to store and prepare it? Keep the parts that help and revise the parts that add work.
If the scraps you cannot use are difficult to store, continue with the apartment food-scrap odor and fruit-fly guide for a destination-first staging routine.
Found something we should correct?
Send the article title, the passage in question, and any supporting source through our contact page. Material corrections will be made transparently.